Roadtrip!! What’s more perfect for cruising down the open road than a vintage Kombi for you and your numero uno.
Check out this DIY for the ultimate low-emission, fully recycled
fun-mobile, straight from the Olli Ella auto shop!
-
 01You will Need
A Cardboard Box, Paint (we used used house paint for a more solid coating, but acrylic or craft paint should be fine too!) Paint Brushes, a Permanent Marker, a Box Cutter, Scissors and Sticky Tape. -
 02Recycle
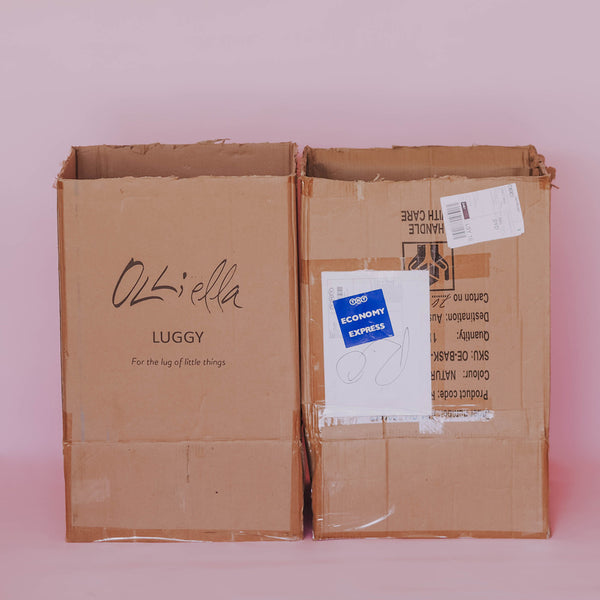
To begin creating your Cardboard Kombi, collect an old recycled box (or two). Keep in mind that the box (or boxes) should be big enough to provide a reasonably cosy interior for two. -
 03Tape
Once the shell of your vehicle is organised, tape any loose areas down... -
 04Cut
04Cut
...and cut away any unnecessary parts. -
 05Join
Then, join the two halves together. You won't need to do this if you are using a bigger cardboard box. -
 06Draw
Next, draw a rough outline of the shape as a guide. This part doesn't need to be perfect because you'll paint over it later.
-
 07Paint it white
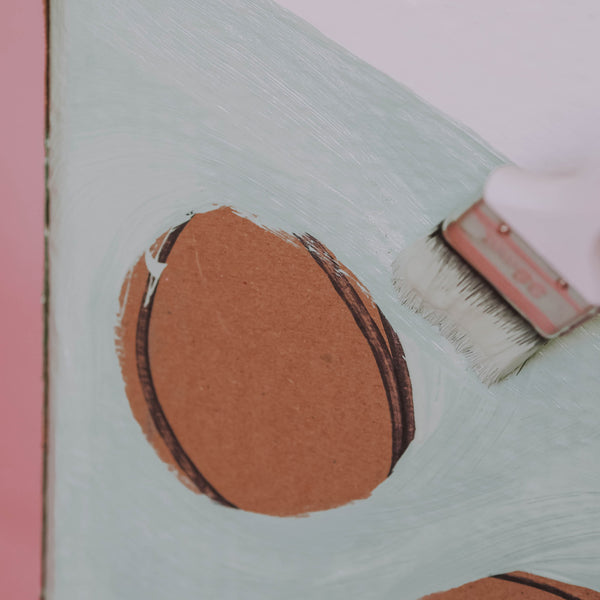
Begin painting your Kombi. Use white paint for the upper part of the van... -
 08Paint it pastel
...and a pastel hue of your choice for the bottom half. -
 09 How's it lookin'?
Now your Kombi should look something like this. -
 10 Cut
Wait for the paint to dry and use a box cutter to cut out the windows. -
 11 Touch ups
Then touch up the inner edges using white paint. -
 12 Draw
Next, draw some side mirrors onto your cardboard scraps, making sure you leave a little tab to attach to the sides of the car. -
 13 Paint
Paint the mirrors and, once dry, fold the tab and attach to the van using tape. -
 14 Paint
Now paint on your front lights and your Kombi is complete! -
 15 Luggage
Just add some cute luggage and your ready to roll... -
 16 See-ya!
We hope you have fun adventuring in your brand new Kombi!

 Welcome to Olli Ella!


 02Recycle
 03Tape
 04Cut
04Cut 05Join
 06Draw
 07Paint it white
 08Paint it pastel
  09 How's it lookin'?
 10 Cut
 11 Touch ups
 12 Draw
 13 Paint
 14 Paint
 15 Luggage
 16 See-ya!