The holidays are almost upon us and our little Holdie pals are beginning to feel the chill! That's why we enlisted the help of our clever pal, Nomi @mrsnomi, who kindly crafted these adorable winter woolies for your smallest small folk! You can make your very own at home by downloading Nomi's custom Holdie pattern and following along to this simple step-by-step. Have you ever seen a coat so sweet? We didn't think so! ~
-
 01You Will Need
Gather your materials and get ready!
-
 02Print the Pattern
Print the pattern at 100% and cut out all the pieces on the solid lines, including the button bands (a), the collar (d) and the back band (e). Cut out the four buttons from your contrasting colour.
-
 03Pin the pattern
Pin the pattern pieces onto your felt and cut out. Use the leftover pieces from the neck hole to cut two pockets.
-
 04Fold the coat
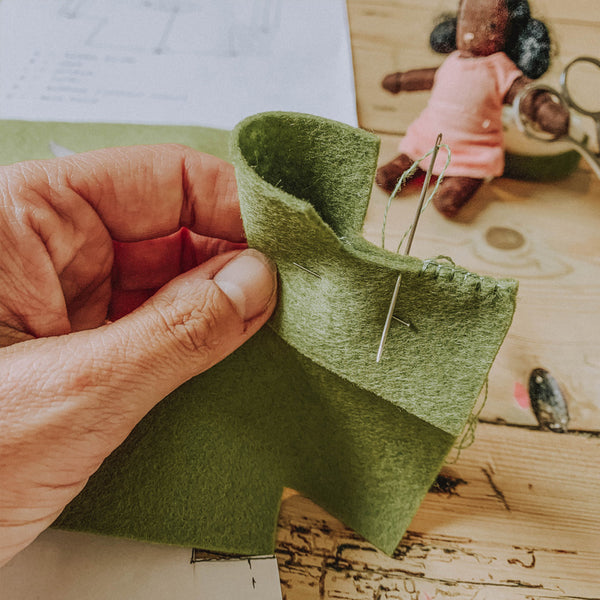
Fold the coat on the dotted line (a) and sew the side and underarm seams with a blanket stitch.
-
 05Fold the cuffs
Fold over the arm cuffs on the dotted line and fasten using a running stitch.
-
 06Add button bands
Add the button bands on either side of the front opening with a running stitch and sew the pockets on the coat fronts.
-
 07Align collar
Align the collar along the neck line and use a blanket stitch to attach it all around the neck. If the collar is too long, trim it to fit.
-
 08Finishing touches
Sew on the back band and buttons and your coat is finished! If you want to, you can add a press-stud to fasten.
 Welcome to Olli Ella!


 01You Will Need
 02Print the Pattern
 03Pin the pattern
 04Fold the coat
 05Fold the cuffs
 06Add button bands
 07Align collar
  08Finishing touches